It has been a busy couple of months, what with all that training taking up weekends and so on, and apart from the ongoing tube crochet I haven’t done a great deal of making stuff. I started a laptop bag using this free tutorial and a yellow waxed cotton to match my beloved Fjallraven backpack, and I really must finish it off just as soon as I find where I put it.
In May I answered an open call by Tauko, a Finnish/German magazine, to be part of the Make and Share community for Issue 8’s patterns. I’d bought a couple of their patterns before, as I like their aesthetic, so the opportunity to test a new design with a free pattern was pretty irresistible.
We were sent a digital proof of the magazine and asked to choose the pattern we’d like to make up, and the deadline (but a relaxed one, as tauko means to pause or take a break) was publication date on the 18th of July. I must admit it hadn’t really occurred to me how much of June’s weekends would be taken up with training, due to being deep in denial about how far 100k actually was, so in the end it was all a bit of a rush! Day one of this project was the Tuesday following the Long Walk, so I mostly did it sitting down and watching the Great British Sewing Bee.
I chose the Kindling top, designed by Shannon McCann, as I like a structured top layer. I have a habit of working in historic buildings with erratic heating so a bit of quilting never goes amiss! I liked the wide sleeve option and the side ties, and the bias bound hems.

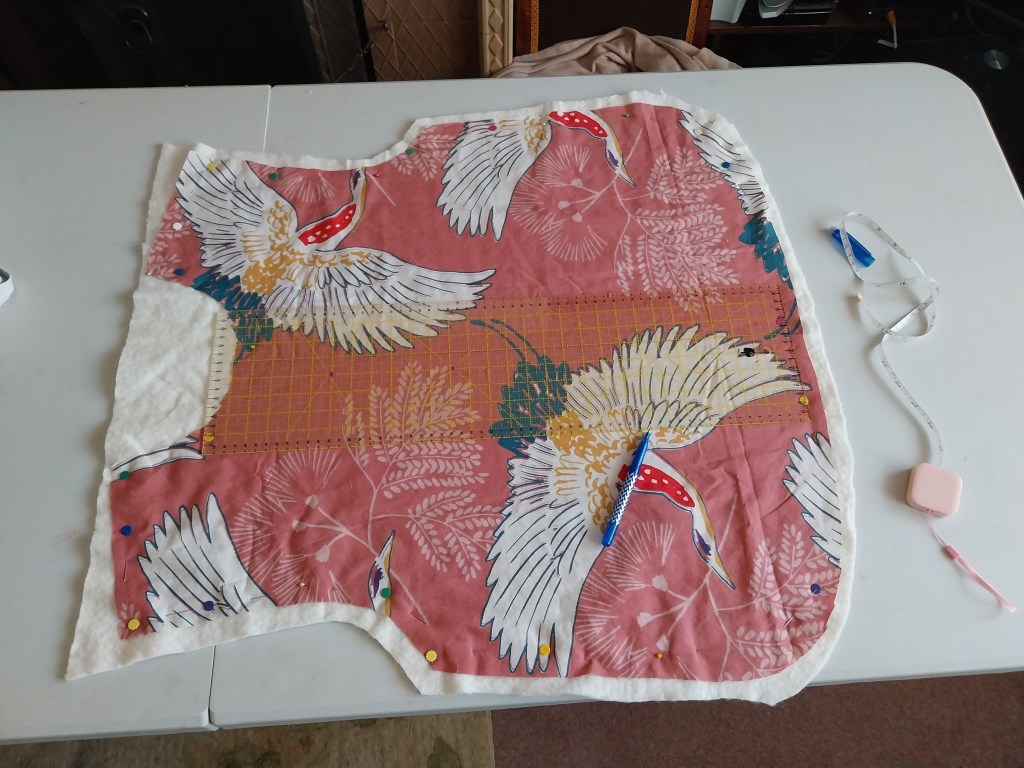
In my stash I had a double duvet cover in 100% cotton that I’d bought in a sale, which meant I could skip a step and cut out the lining and outer fabric at the same time. You can see the top fabric above, and the reverse is a pale sage colour. Also in the stash I had some sage green bias binding, again from a sale, and some toning grosgrain ribbon that had been handed to me as part of someone else’s clear-out. As long as I wasn’t too fussy about thread matching, the only thing I needed to buy was some cotton batting for the inner layer. I bought a fairly thin 100% cotton one to avoid too much bulk, and all the scraps went to my beloved to use either in the compost or to line plant pots. The batting was opaque which made it a bit tricky to line up the layers properly – one reason why you have a lining as well as a backing in other items, and if I make this again I’ll use an additional layer. I may make a sleeveless version, as I have enough fabric left from the jumpsuit I cut out today in a dark green otter-print fabric.
I started by cutting out the pieces and quilting them with simple vertical lines – my long acrylic quilting ruler made marking the lines easy, along with a heat-erasable pen. I spaced the lines quite widely, and stitched them with a multicoloured thread. Construction after this was very straightforward, the pattern instructions are clear and thorough, and the piece is easy to size.
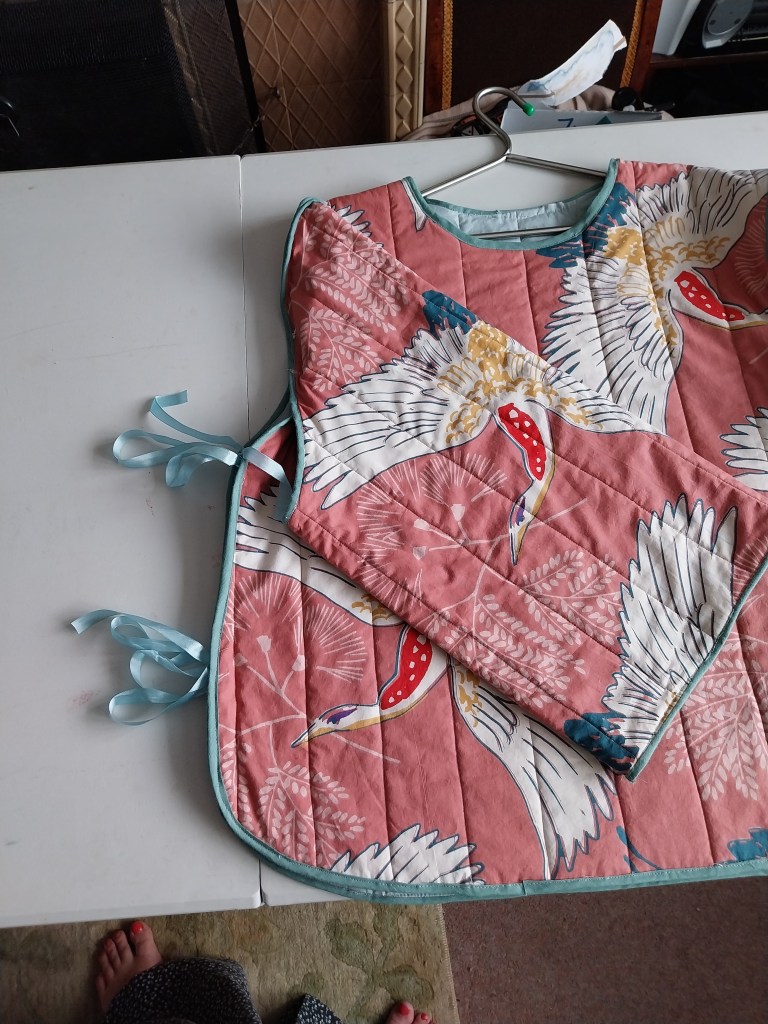
Once the front and back are quilted, the shoulder seams are stitched and bound with bias binding, which gives a lovely clean finish. All the seams are supposed to be bound, in fact, but I confess I didn’t bind the inside of the sleeves as I was short on time. I used a zigzag stitch to finish them instead.


Next up was binding the edges. The pattern calls for creating your own ties using the bias binding, but as I had this pretty toning ribbon I skipped that step as well and. Binding around the outside is a single straightforward step, though I did have to unpick a few times when I forgot to tuck the ribbon out of the way.
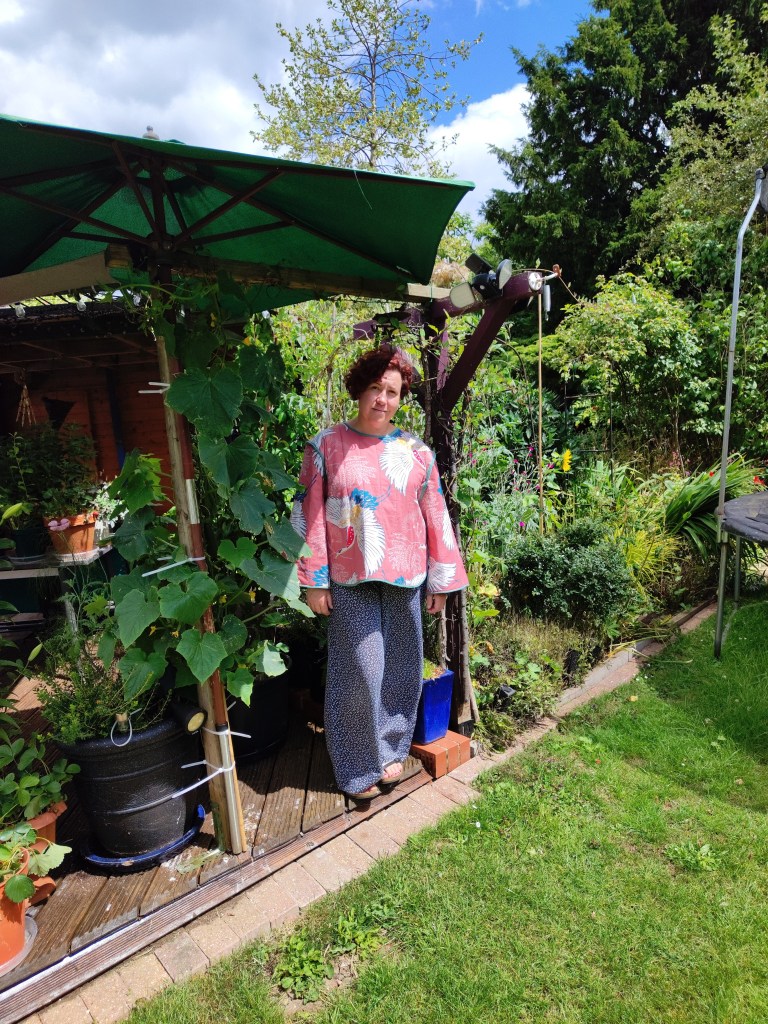
The neckline was where I nearly threw the towel in and the sewing machine out: this should have been a very quick job but my trusty Brother LS14 is badly in need of a service and the tension keeps slipping. I tried rethreading, changing the bobbin, swearing and all other known sewing tricks, but kept getting the dreaded birds nest on the reverse and having to unpick. I gave up for the day instead. As you can see from the image above, the sleeveless version is very wearable and I gave some thought to making detachable sleeves with poppers.
I was in a much better frame of mind a few days later, and the first thing I did was to wind new bobbins and rethread, which solved the birds nest issue and the neck binding went on easily. I was tempted to leave it sleeveless but I’d already cut and quilted them, so…
The sleeve hems and heads are bound and then attached to the bodice. This was the trickiest bit: I’d marked the notches with heat-erasable pen, as the snips had been bound over….and then I’d ironed it. It took a while to work out where to start and stop sewing as obviously I needed to be able to move my arms in it, but I got there in the end! Again there was a bit of unpicking where I’d pinned wrong, but the double bindings create a structured effect so worth the effort. A quick press and try on, and then it was time to nag my beloved to take photos in the garden. Apart from making a sleeveless version, if I make it again I’ll crop the sleeves and use a thicker batting, but I can see this getting a lot of wear.


In other crafts…

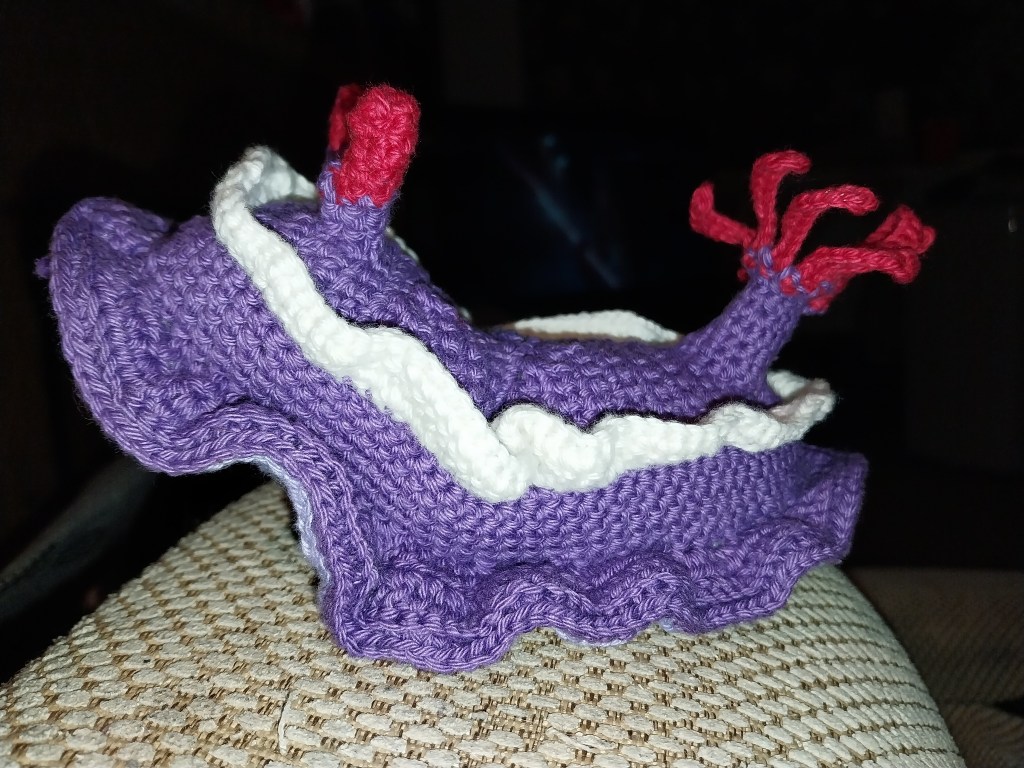

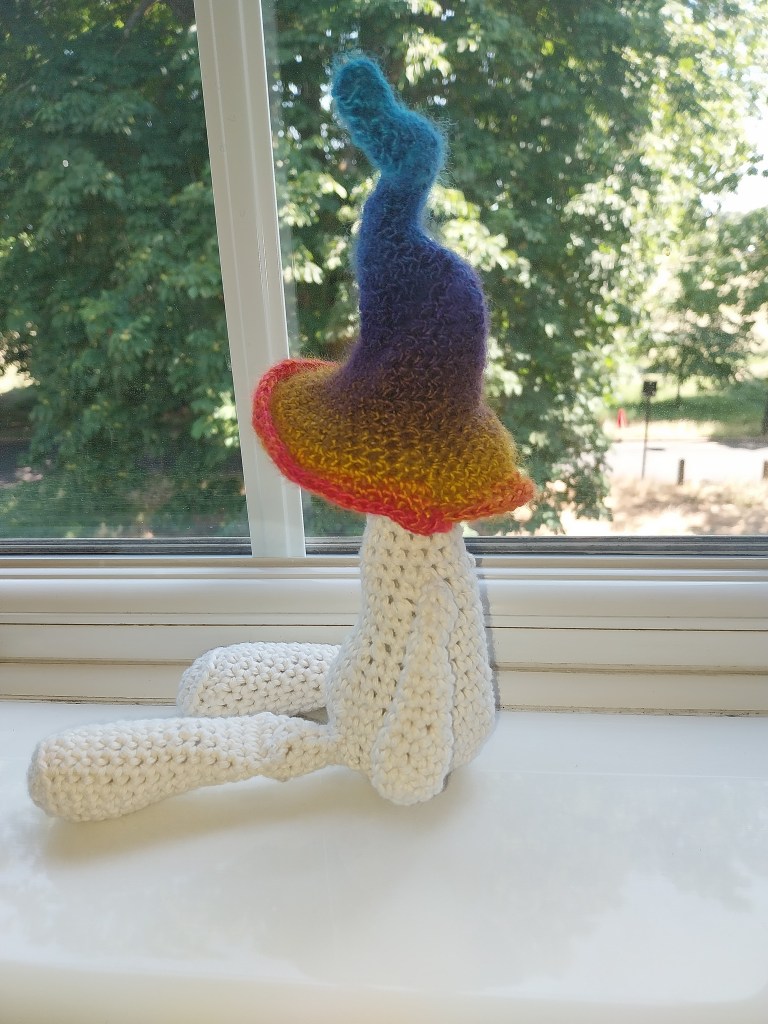
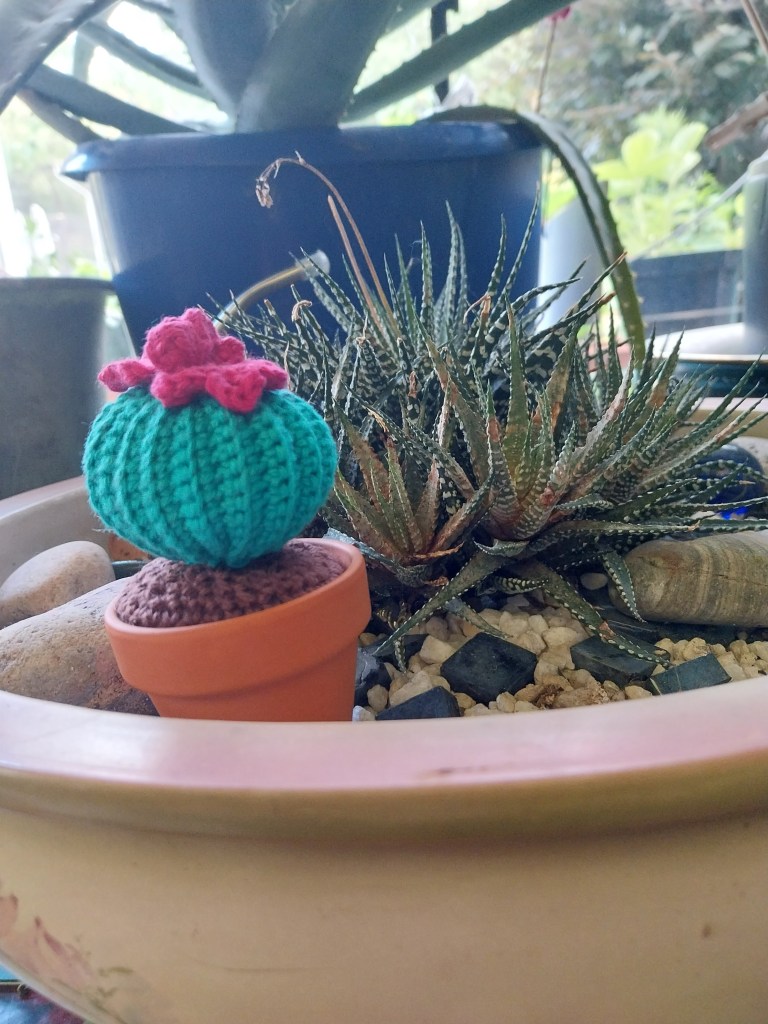

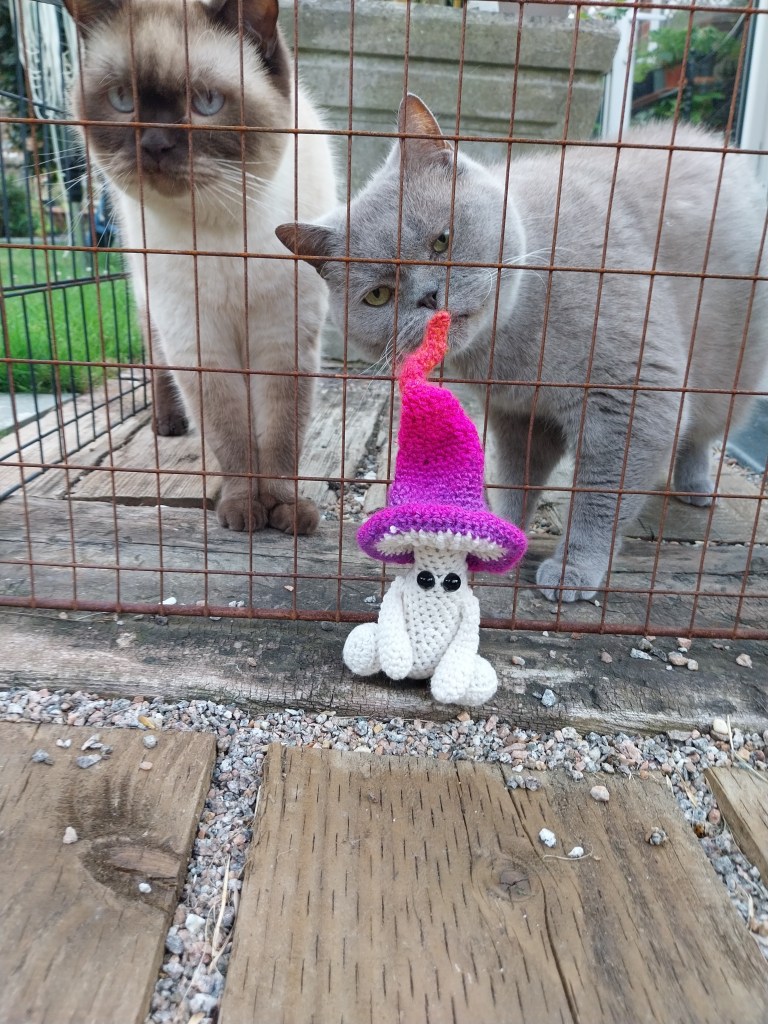
The nudibranch and mushroom sprite patterns are by Crafty Intentions, and the crochet round barrel cactus is by ZoeCreates.
This week I am looking forward to a belated birthday dinner with Amanda celebrating our 50ths, and another visit to The Museum of the Order of St John.
Kirsty x
What I’ve been reading:
The Good, The Bad and The History – Jodi Taylor
Queen Charlotte – Julia Quinn & Shonda Rimes
Whispers Underground/Broken Homes – Ben Aaronovitch (Audible)
Odds and Gods/Ye Gods! – Tom Holt
The Forgotten Witch – Jessica Dodge
